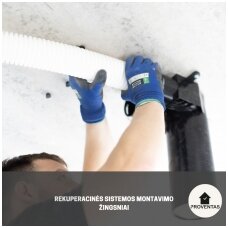
Installation steps of the ventilation system
-

We often get questions: how? when? after what? before what?
After all, what is the order of ventilation system, which is convenient for everyone?
-
The project of the ventilation system, where is indicated:
- capacity of the recuperator;
- how many air intake/supply points should be in each room;
- marked ducts: in blue - air supply, in red - air removal;
- the location of the recuperator is determined.
-
Duct system selection:
- Tin ducts;
- Plastic ducts.
-
The installer leads the ducts to the recuperator, the diffusers and the air distribution box are attached.
- The ducts are installed when the walls have already been built and the floor has been concreted;
- At this stage, the drilling works on the field side are also taking place. The job is dirty.
- Important! If You have chosen flush slot diffusers, they are installed now.
-
Hanging and connecting the recuperator.
- If You hang the recupator at this moment, You will have an opportunity to check the ventilation system - whether there were any mistakes, whether nothing got into the ducts, whether it works quietly.
- Often, customers choose to hang up the device when they are already planning to move, due to the warranty period. Repair works often do not go according to plan, so they do not want the warranty to expire while the recuperator is not in use. Logically, however, if a mistake was made somewhere in the installation, it will be difficult/impossible to correct it at this stage without damaging the finish.
-
Installation of diffusers and adjustment of air flows.
- Diffusers can be installed either by your ventilation system installer or by your finishing craftsmen.
- Rational adjustment of air flows with a well functioning anemometer.
-
The project of the ventilation system, where is indicated:


